
Souce Install Zabbix 5.0 LTS with Nginx + PHP 7.4 + TimescaleDB on CentOS 7 – # 2. ZABBIX
Nginx + PHP 7.4 + TimescaleDB 을 이용하여 ZABBIX 5.0 LTS 를 설치하는 방법에 대한 예제
Zabbix 에서는 암호화 설정시 GnuTLS 또는 OpenSSL 1.1.0 이상 버전을 사용하기를 권장합니다. 이전 버전까지만 해도 저는 GnuTLS 를 사용했었습니다.
참조 : https://www.zabbix.com/documentation/current/manual/encryption
GnuTLS 로 컴파일을 시도하였지만 agent2 는 GnuTLS 지원이 되지 않는다는 경고가 나옵니다. 이 문제로 인해 OpenSSL 1.1.1g 버전을 이용하여 설치를 시도하였지만 configure 에서는 문제없지만 make 시 에러가 발생합니다. 해당 문제는 –with-net-snmp 때문으로 확인되었습니다. net-snmp 패키지를 최신버전으로 설치하면 정상적으로 make 됩니다. net-snmp 를 사용하지 않는 분은 해당 패키지 설치를 건너 뛰셔도 됩니다. 또한 암호화를 사용하지 않는 분들은 설치시 GnuTLS 또는 OpenSSL 옵션을 빼셔도 무방합니다.
1. ZABBIX 설치 및 설정
의존성 패키지 설치
[root@172-16-11-99 /]# yum install libevent-devel libcurl-devel libxml2-devel pcre-devel zlib-devel
net-snmp 다운로드 및 설치
[root@172-16-11-99 /]# cd /usr/local/src
[root@172-16-11-99 src]# wget https://sourceforge.net/projects/net-snmp/files/net-snmp/5.8/net-snmp-5.8.tar.gz/download --content-disposition
[root@172-16-11-99 src]# tar xvzf net-snmp-5.8.tar.gz
[root@172-16-11-99 src]# cd net-snmp-5.8
[root@172-16-11-99 net-snmp-5.8]# ./configure --prefix=/usr/local/net-snmp-5.8 --with-openssl=/usr/local/openssl-1.1.1g
[root@172-16-11-99 net-snmp-5.8]# make
[root@172-16-11-99 net-snmp-5.8]# make install
Zabbix 5.0 LTS 다운로드 및 설치
configure 옵션에서 나에게 필요없는 옵션은 지우고 해주시면 되며, 패키지 오류가 발생하면 해당 패키지(devel 패키지)를 설치해주시면 됩니다. 에이전트의 경우 agent2 로 완전히 변경된것이 아니기 때문에 이전버전의 agent 사용을 원하시는 분은 –enable-agent 옵션을 주시면 됩니다.
[root@172-16-11-99 /]# cd /usr/local/src
[root@172-16-11-99 src]# wget https://cdn.zabbix.com/zabbix/sources/stable/5.0/zabbix-5.0.0.tar.gz
[root@172-16-11-99 src]# tar xvzf zabbix-5.0.0.tar.gz
[root@172-16-11-99 src]# cd zabbix-5.0.0
[root@172-16-11-99 zabbix-5.0.0]# ./configure \
--enable-server \
--enable-agent2 \
--enable-java \
--with-libxml2 \
--with-net-snmp=/usr/local/net-snmp-5.8/bin/net-snmp-config \
--with-openipmi \
--with-ssh \
--with-zlib \
--with-openssl=/usr/local/openssl-1.1.1g \
--with-ldap \
--with-libcurl \
--with-postgresql=/data/apps/ln/postgresql/bin/pg_config
[root@172-16-11-99 zabbix-5.0.0]# make
[root@172-16-11-99 zabbix-5.0.0]# make install
OpenSSL 1.1.1g 버전으로 정상적으로 설치되었는지 확인
[root@172-16-11-99 zabbix-5.0.0]# export LD_LIBRARY_PATH=$LD_LIBRARY_PATH:/data/apps/ln/postgresql/lib/:/usr/local/net-snmp-5.8/lib/:/usr/local/openssl-1.1.1g/lib/
[root@172-16-11-99 zabbix-5.0.0]# /usr/local/sbin/zabbix_server -V
zabbix_server (Zabbix) 5.0.0
Revision 9665d62db0 11 May 2020, compilation time: May 19 2020 09:57:11

Copyright (C) 2020 Zabbix SIA
License GPLv2+: GNU GPL version 2 or later <http://gnu.org/licenses/gpl.html>.
This is free software: you are free to change and redistribute it according to
the license. There is NO WARRANTY, to the extent permitted by law.

This product includes software developed by the OpenSSL Project
for use in the OpenSSL Toolkit (http://www.openssl.org/).

Compiled with OpenSSL 1.1.1g  21 Apr 2020
Running with OpenSSL 1.1.1g  21 Apr 2020
Zabbix 설정파일 심볼릭 링크
[root@172-16-11-99 zabbix-5.0.0]# mkdir -p /etc/zabbix
[root@172-16-11-99 zabbix-5.0.0]# cd /etc/zabbix
[root@172-16-11-99 zabbix]# ln -s /usr/local/etc/zabbix_server.conf ./zabbix_server.conf
[root@172-16-11-99 zabbix]# ln -s /usr/local/etc/zabbix_server.conf.d ./zabbix_server.conf.d
[root@172-16-11-99 zabbix]# ln -s /usr/local/etc/zabbix_agent2.conf ./zabbix_agent2.conf
[root@172-16-11-99 zabbix]# ln -s /usr/local/etc/zabbix_agentd.conf.d ./zabbix_agentd.conf.d
Zabbix 로그 디렉토리 생성
[root@172-16-11-99 zabbix]# mkdir -p /var/log/zabbix
zabbix server configuration
: vi /etc/zabbix/zabbix_server.conf
LogFile=/var/log/zabbix/zabbix_server.log
PidFile=/tmp/zabbix_server.pid
DBName=zabbix
DBUser=zabbix
DBPassword=YourDBPassword
Include=/usr/local/etc/zabbix_server.conf.d/*.conf
zabbix server systemd 파일 생성
: vi /etc/systemd/system/zabbix_server.service
[Unit]
Description=Zabbix Server
After=syslog.target network.target postgresql.service

[Service]
Environment=LD_LIBRARY_PATH=/usr/local/openssl-1.1.1g/lib/:/data/apps/ln/postgresql/lib/:/usr/local/net-snmp-5.8/lib/
Environment="CONFFILE=/usr/local/etc/zabbix_server.conf"
Type=forking
Restart=on-failure
PIDFile=/tmp/zabbix_server.pid
ExecStart=/usr/local/sbin/zabbix_server -c $CONFFILE
ExecStop=/bin/kill -SIGTERM $MAINPID
ExecReload=/usr/local/sbin/zabbix_server -R config_cache_reload
RestartSec=10s
TimeoutStartSec=0

[Install]
WantedBy=multi-user.target
Zabbix DB 스키마 추가
[root@172-16-11-99 zabbix-5.0.0]# cd /usr/local/src/zabbix-5.0.0/database/postgresql
[root@172-16-11-99 postgresql]# cat schema.sql | /data/apps/src/postgresql-12.2/bin/psql zabbix -U zabbix
[root@172-16-11-99 postgresql]# cat images.sql | /data/apps/src/postgresql-12.2/bin/psql zabbix -U zabbix
[root@172-16-11-99 postgresql]# cat data.sql | /data/apps/src/postgresql-12.2/bin/psql zabbix -U zabbix
[root@172-16-11-99 postgresql]# cat timescaledb.sql | /data/apps/src/postgresql-12.2/bin/psql zabbix -U zabbix
systemd 등록 및 실행
[root@172-16-11-99 postgresql]# systemctl enable zabbix_server
[root@172-16-11-99 postgresql]# systemctl start zabbix_server
로그 확인
[root@172-16-11-99 postgresql]# cat /var/log/zabbix/zabbix_server.log
2. 클라이언트(에이전트2) 설정
새로운 옵션인 ControlSocket 이 등장합니다. agent2 에서는 런타임 명령에 해당 소켓을 이용합니다. 이 외에 Redis 및 Memcached 등과 관련된 옵션도 있습니다.
zabbix agent configuration
: vi /etc/zabbix/zabbix_agent2.conf
PidFile=/tmp/zabbix_agent2.pid
LogFile=/var/log/zabbix/zabbix_agent2.log
Server=YourServerIP
#ServerActive=127.0.0.1 // 액티브모드를 사용하지 않을 경우 주석처리 해도 됩니다.
#Hostname=Zabbix server // 액티브모드를 사용하지 않을 경우 주석처리 해도 됩니다.
Include=/usr/local/etc/zabbix_agentd.conf.d/*.conf
ControlSocket=/tmp/agent.sock
zabbix agent systemd 파일 생성
agent2 의 경우 agent 와는 다르게 데몬으로 동작하지 않습니다. 때문에 Type 을 forking 이 아닌 simple 로 해주셔야 합니다.
: vi /etc/systemd/system/zabbix_agent2.service
[Unit]
Description=Zabbix Agent
After=syslog.target network.target

[Service]
Environment=LD_LIBRARY_PATH=/usr/local/openssl-1.1.1g/lib/
Environment="CONFFILE=/usr/local/etc/zabbix_agent2.conf"
Type=simple
Restart=on-failure
PIDFile=/tmp/zabbix_agent2.pid
ExecStart=/usr/local/sbin/zabbix_agent2 -c $CONFFILE
ExecStop=/bin/kill -SIGTERM $MAINPID
RestartSec=10s
TimeoutStartSec=0

[Install]
WantedBy=multi-user.target
systemd 등록 및 실행
[root@172-16-11-99 postgresql]# systemctl enable zabbix_agent2
[root@172-16-11-99 postgresql]# systemctl start zabbix_agent2
3. ZABBIX 웹 프론트엔드 설치 및 설정
Zabbix 웹 프론트엔드의 PHP 최소지원 버전이 7.2 버전으로 변경되었습니다. 본 매뉴얼에서는 PHP 7.4 버전을 이용하여 설치하였습니다. 우선 Zabbix 실행에 필요한 모듈설치를 진행합니다.
참조 : https://www.zabbix.com/documentation/current/manual/installation/install
bcmath 모듈 설치
[root@172-16-11-99 /]# cd /usr/local/src/php-7.4.5/ext/bcmath
[root@172-16-11-99 bcmath]# ./configure --with-php-config=/data/apps/ln/php/bin/php-config
[root@172-16-11-99 bcmath]# make
[root@172-16-11-99 bcmath]# make install
mbstring 모듈 설치
mbstring 모듈 설치시 oniguruma-devel 패키지가 필요합니다.
[root@172-16-11-99 bcmath]# yum install -y oniguruma-devel
[root@172-16-11-99 bcmath]# cd /usr/local/src/php-7.4.5/ext/mbstring
[root@172-16-11-99 mbstring]# ./configure --with-php-config=/data/apps/ln/php/bin/php-config
[root@172-16-11-99 mbstring]# make
[root@172-16-11-99 mbstring]# make install
sockets 모듈 설치
[root@172-16-11-99 mbstring]# cd /usr/local/src/php-7.4.5/ext/sockets
[root@172-16-11-99 sockets]# ./configure --with-php-config=/data/apps/ln/php/bin/php-config
[root@172-16-11-99 sockets]# make
[root@172-16-11-99 sockets]# make install
gd 모듈 설치
gd 모듈은 최소 libjpeg-devel, libpng-devel, freetype-devel 패키지가 필요합니다. PHP 7.4 버전부터는 configure 옵션이 조금 변경되었습니다. 또한 –with-png-dir 옵션이 삭제되었습니다. configure –help 를 통해 전체 옵션 확인이 가능합니다.
[root@172-16-11-99 sockets]# yum install -y libjpeg-devel libpng-devel freetype-devel
[root@172-16-11-99 sockets]# cd /usr/local/src/php-7.4.5/ext/gd
[root@172-16-11-99 gd]# ./configure --with-php-config=/data/apps/ln/php/bin/php-config --with-jpeg=/usr/local/ --with-freetype=/usr/local/
[root@172-16-11-99 gd]# make
[root@172-16-11-99 gd]# make install
ctype 모듈 설치
[root@172-16-11-99 gd]# cd /usr/local/src/php-7.4.5/ext/ctype
[root@172-16-11-99 ctype]# ./configure --with-php-config=/data/apps/ln/php/bin/php-config
[root@172-16-11-99 ctype]# make
[root@172-16-11-99 ctype]# make install
session 모듈 설치
[root@172-16-11-99 ctype]# cd /usr/local/src/php-7.4.5/ext/session
[root@172-16-11-99 session]# ./configure --with-php-config=/data/apps/ln/php/bin/php-config
[root@172-16-11-99 session]# make
[root@172-16-11-99 session]# make install
gettext 모듈 설치
[root@172-16-11-99 session]# cd /usr/local/src/php-7.4.5/ext/gettext
[root@172-16-11-99 gettext]# ./configure --with-php-config=/data/apps/ln/php/bin/php-config
[root@172-16-11-99 gettext]# make
[root@172-16-11-99 gettext]# make install
ldap 모듈 설치
Zabbix 웹 프론트엔드에 ldap 인증을 설정하시는 분은 ldap 모듈을 설치하셔야 합니다. ldap 인증을 사용하지 않는 분은 건너뛰셔도 됩니다.
[root@172-16-11-99 gettext]# cd /usr/local/src/php-7.4.5/ext/ldap
[root@172-16-11-99 ldap]# ./configure --with-php-config=/data/apps/ln/php/bin/php-config --with-libdir=/lib64/
[root@172-16-11-99 ldap]# make
[root@172-16-11-99 ldap]# make install
DB 모듈 설치
사용하시는 DB 의 모듈을 설치해야하며, TimescaleDB 의 경우 PostgreSQL 모듈을 설치하시면 됩니다.
[root@172-16-11-99 ldap]# cd /usr/local/src/php-7.4.5/ext/pgsql
[root@172-16-11-99 pgsql]# ./configure --with-php-config=/data/apps/ln/php/bin/php-config --with-pgsql=/data/apps/ln/postgresql
[root@172-16-11-99 pgsql]# make
[root@172-16-11-99 pgsql]# make install
위에서 설치한 모듈들을 php.ini 에 등록해주고 추가로 아래 3개의 옵션을 변경해 주어야 합니다.
: vi /data/apps/src/php-7.4.5/etc/php.ini
session.auto_start = 0
mbstring.func_overload = 0
always_populate_raw_post_data = -1

.
.
.

extension=bcmath.so
extension=mbstring.so
extension=sockets.so
extension=gd.so
extension=ctype.so
extension=session.so
extension=gettext.so
extension=ldap.so
extension=pgsql.so
PHP 소스 디렉토리의 이름이 frontend 디렉토리에서에서 ui 디렉토리로 변경되었습니다. ui 디렉토리를 웹루트 디렉토리로 복사하고 Nginx 및 PHP 설정을 자신의 환경에 맞게 수정해주시면 됩니다.
[root@172-16-11-99 pgsql]# cp -rp /usr/local/src/zabbix-5.0.0/ui /data/www/zabbix
모든 과정이 마무리 되었습니다. 웹 브라우저에서 서버의 IP or Domain 을 입력하여 접속 후 설정을 마무리 해줍니다.
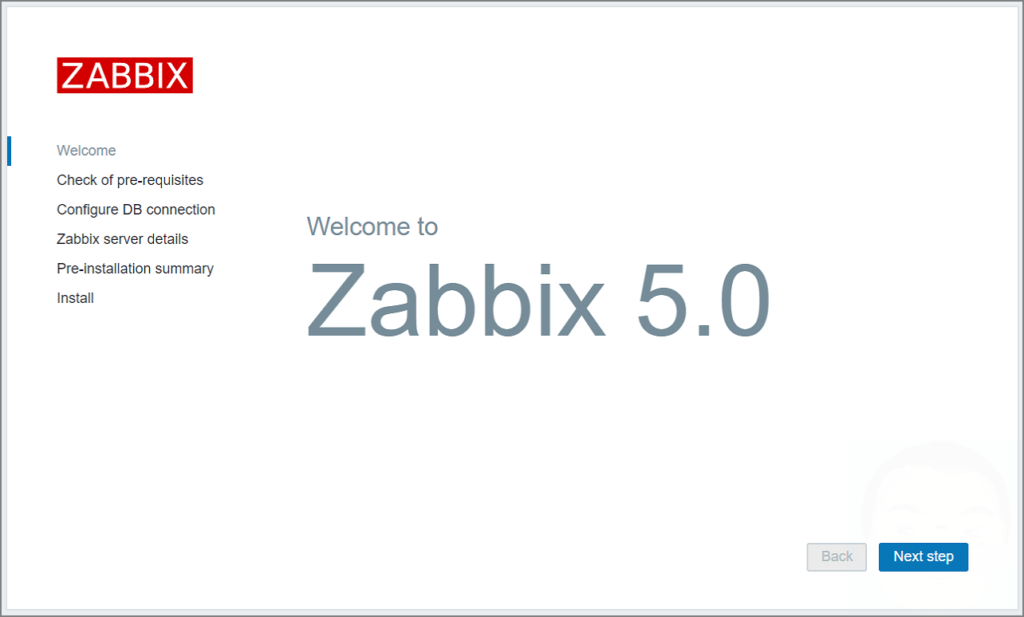
그냥 Next step 가시면 됩니다.
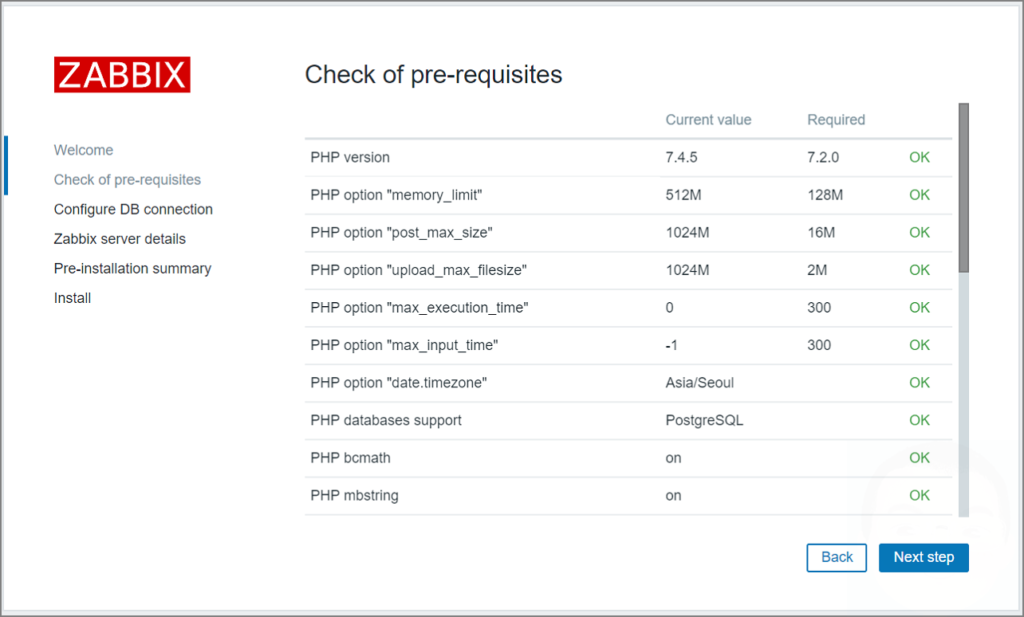
설정에 문제가 없는지 확인하시고, 필요한 경우 수정을 하거나 설치를 해줍니다.
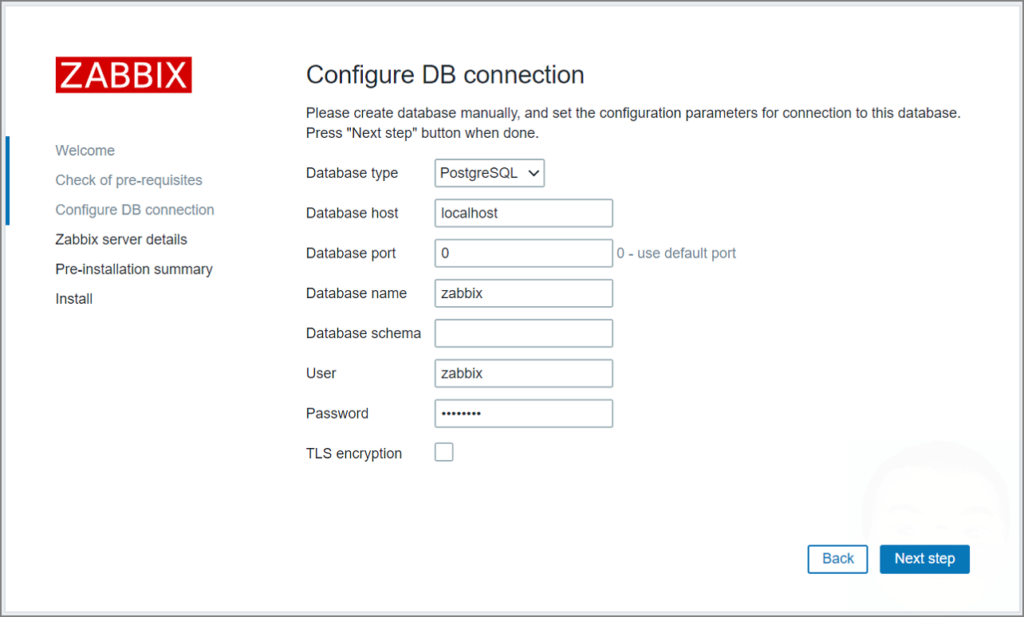
DB 정보 및 유저/비밀번호를 추가해 주시면 됩니다.
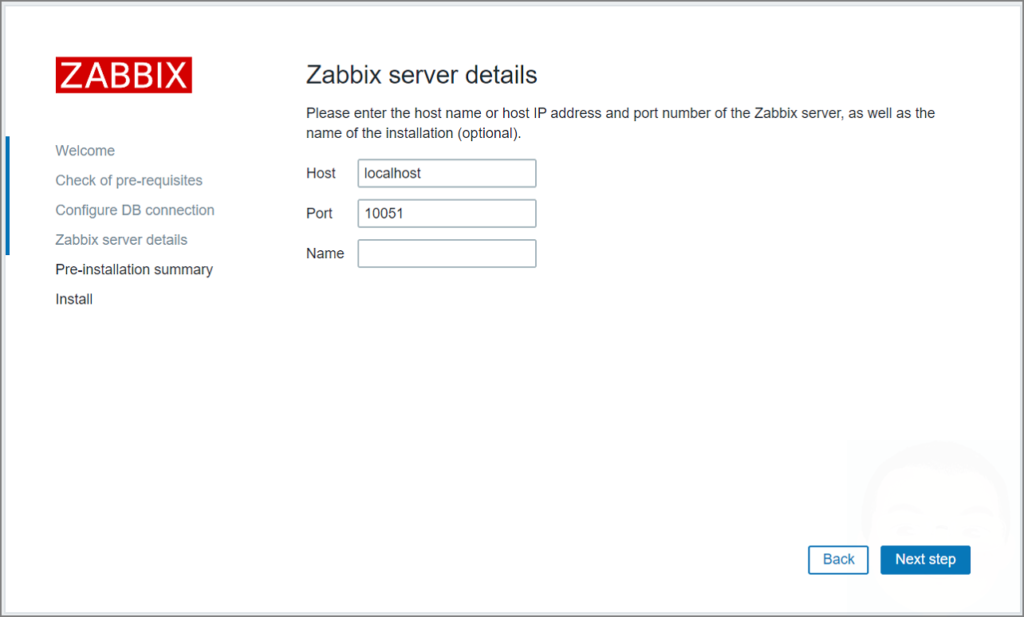
특별한 사항이 없다면 다음 스텝으로 넘어갑니다.
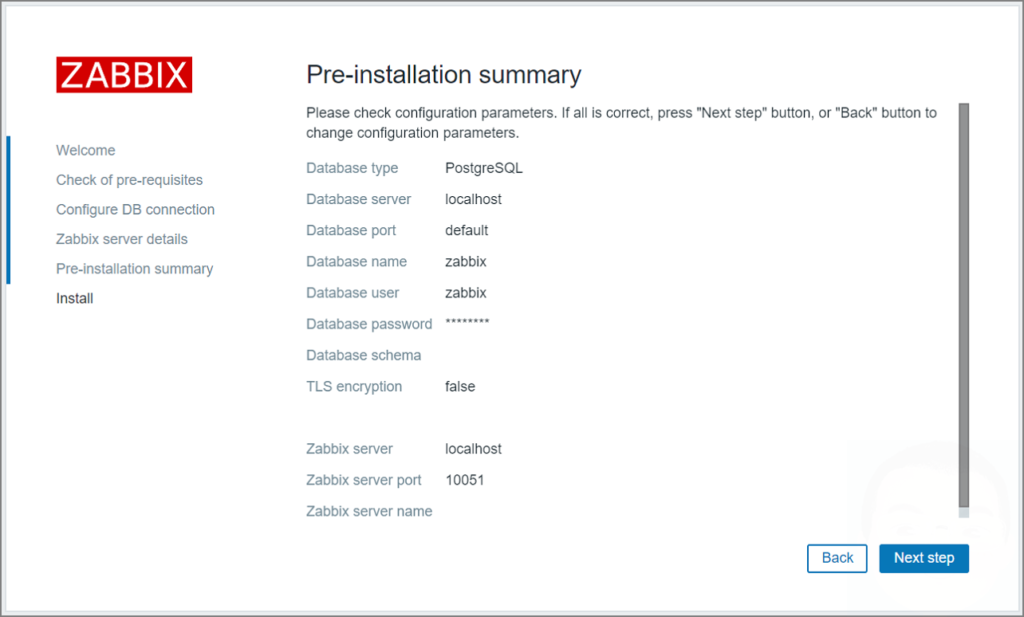
입력된 정보들에 대해 간단하게 요약한 내용입니다. 최종 확인 해주시고 다음으로 넘어갑니다.

파일을 write 할 수 있는 권한이 있으면 위의 설정사항들이 파일로 저장이 되고, 권한이 없다면 위에 화면처럼 configuration 파일을 다운로드 할수 있게 나옵니다. 해당 파일을 다운로드 받은 후 위에 표시된 경로에 복사해 주시면 됩니다.
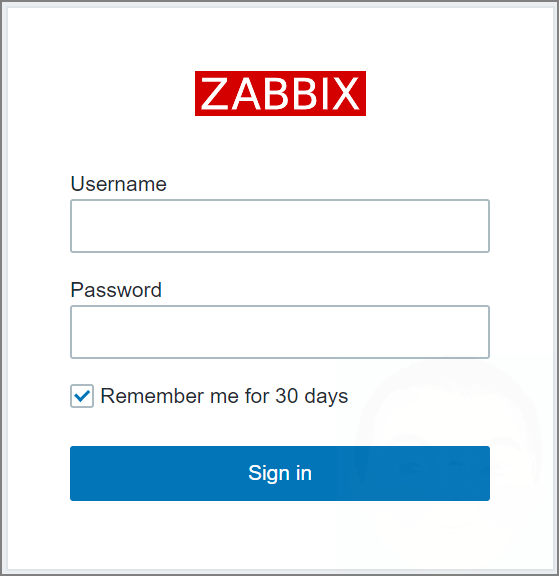
로그인 화면입니다. 기본 계정은 아래와 같으며, 대소문자를 구분합니다.
ID : Admin
PW : zabbix
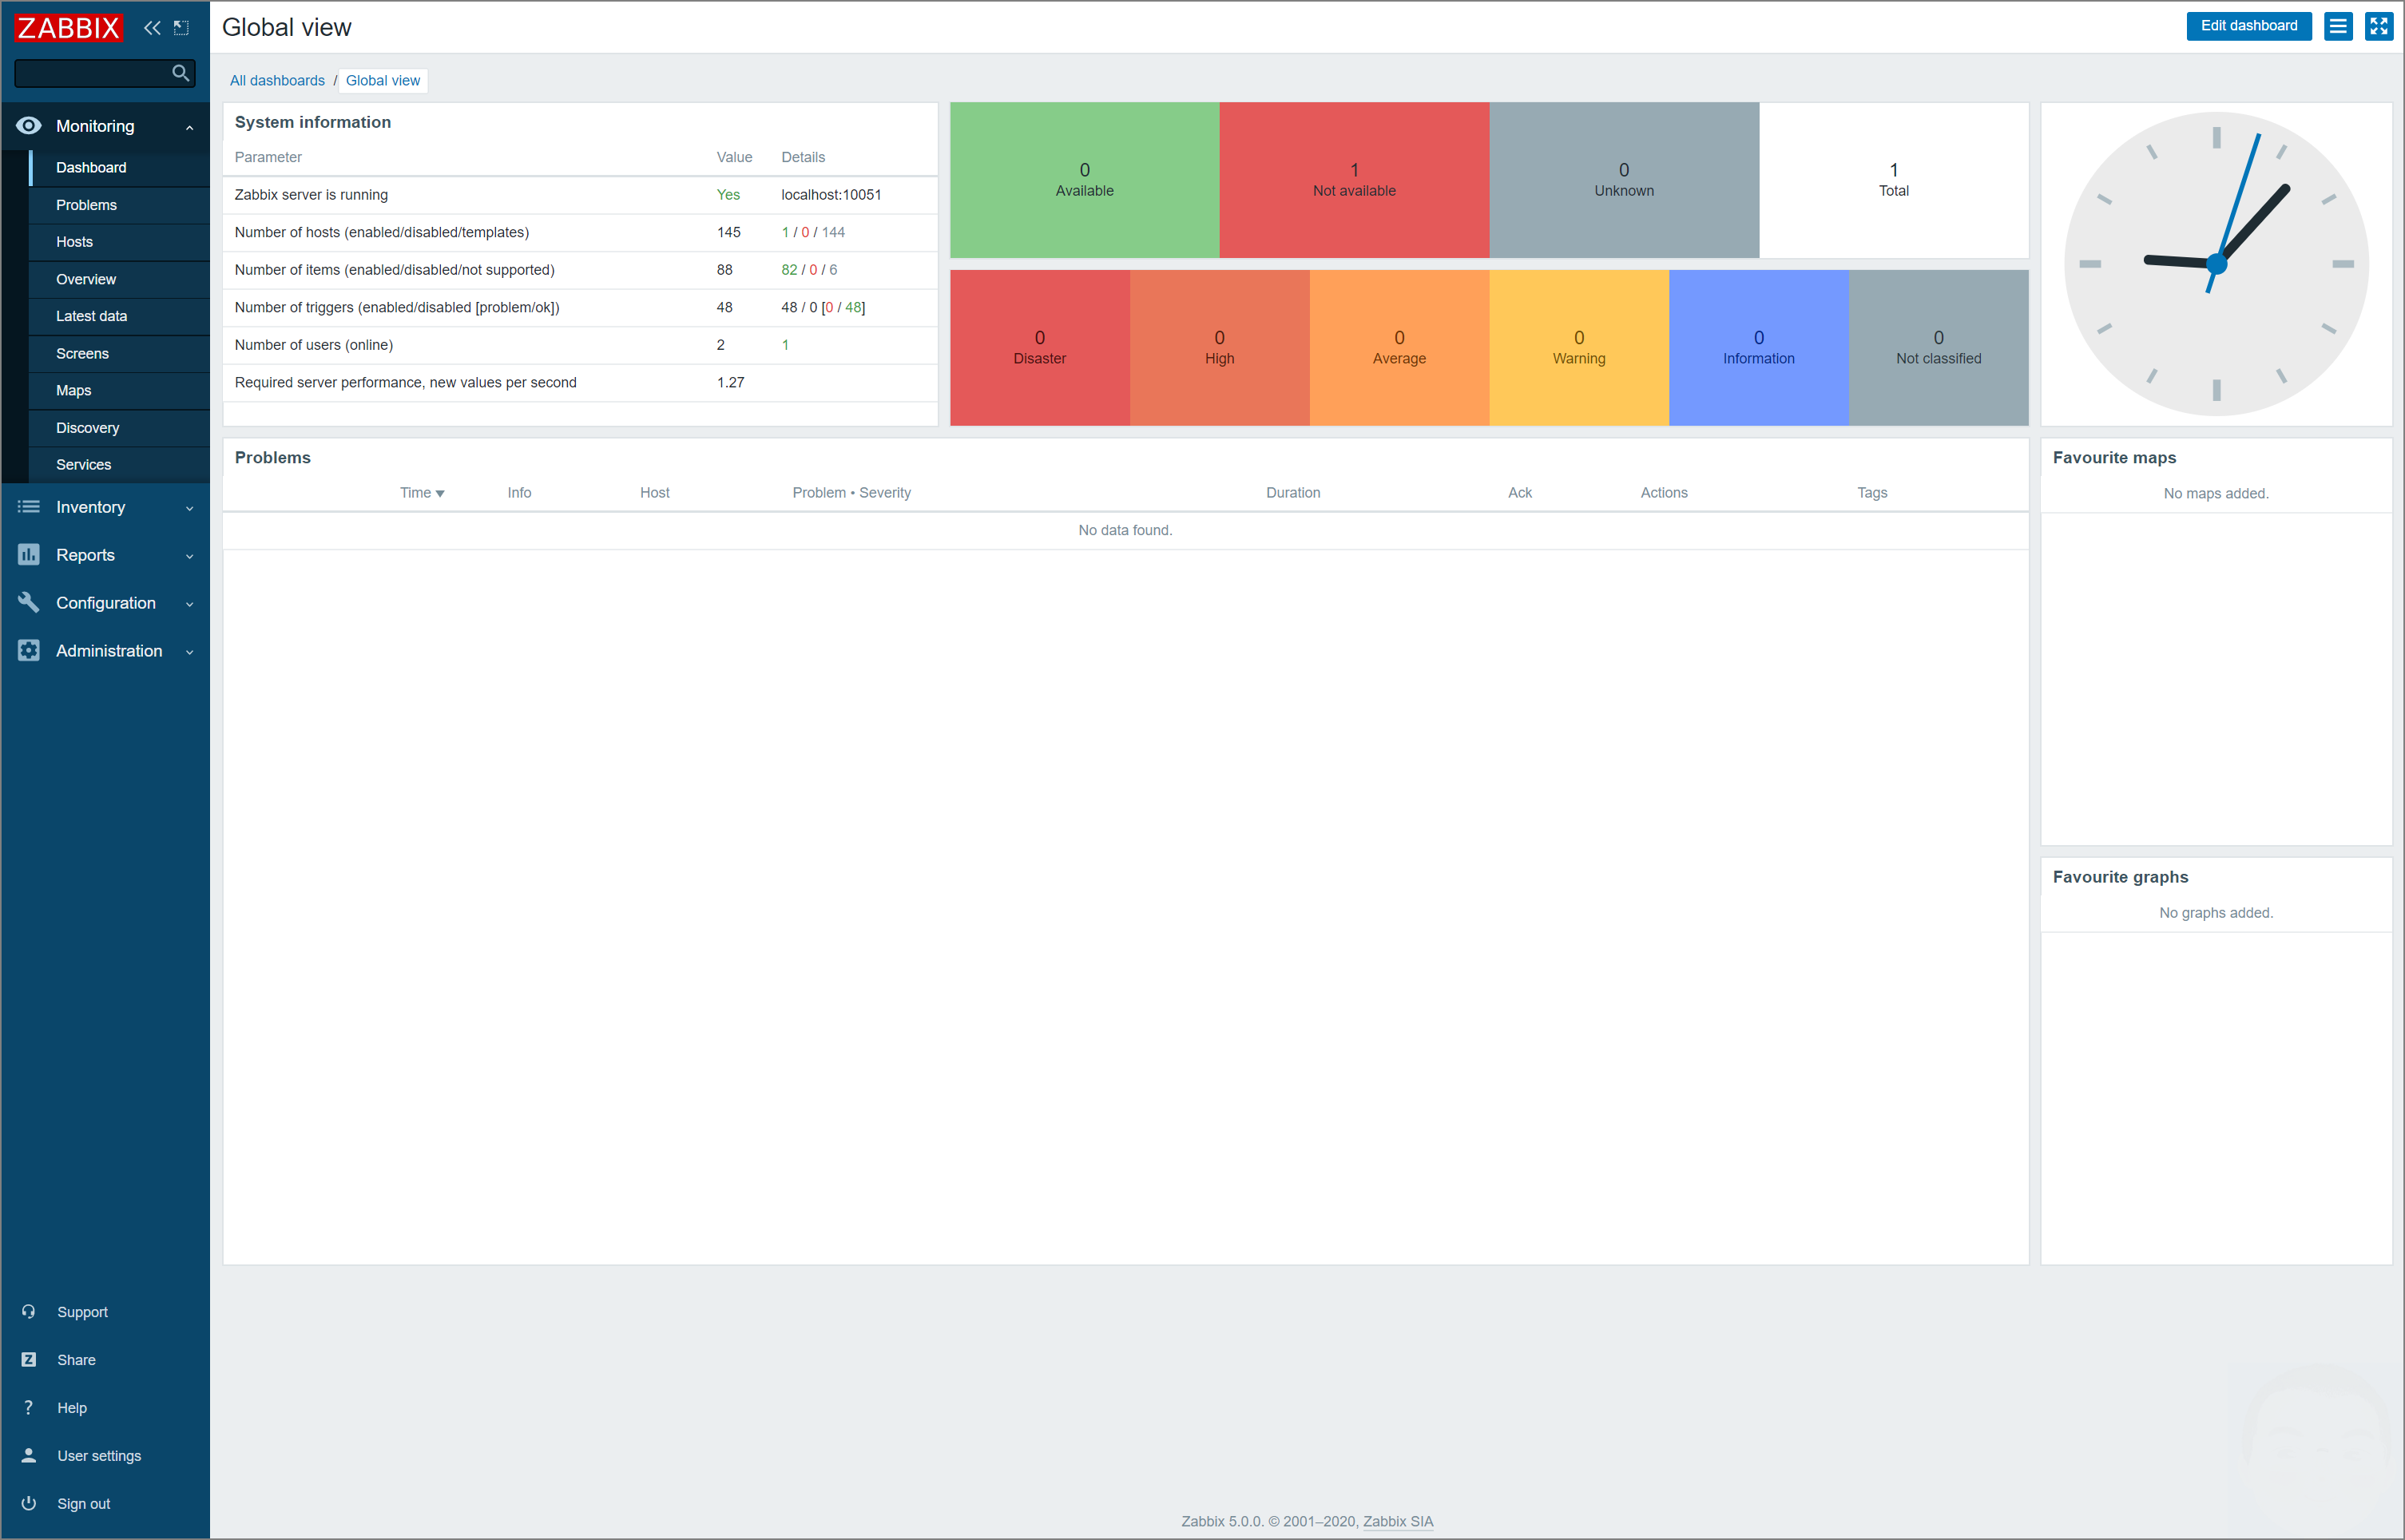
로그인이 완료되면 dashboard 가 표시됩니다. 이전 버전들과는 상당히 많이 달라진 모습입니다.
TIP. 웹 화면을 통해 설정 확인이 필요없다 하시는 분은 아래와 같이 직접 conf 파일을 생성해주셔도 됩니다.
: vi /data/www/zabbix/conf/zabbix.conf.php
<?php
// Zabbix GUI configuration file.

$DB['TYPE'] = 'POSTGRESQL';
$DB['SERVER'] = 'localhost';
$DB['PORT'] = '0';
$DB['DATABASE'] = 'zabbix';
$DB['USER'] = 'zabbix';
$DB['PASSWORD'] = 'YourDBPassword';

// Schema name. Used for PostgreSQL.
$DB['SCHEMA'] = '';

// Used for TLS connection.
$DB['ENCRYPTION'] = false;
$DB['KEY_FILE'] = '';
$DB['CERT_FILE'] = '';
$DB['CA_FILE'] = '';
$DB['VERIFY_HOST'] = false;
$DB['CIPHER_LIST'] = '';

// Use IEEE754 compatible value range for 64-bit Numeric (float) history values.
// This option is enabled by default for new Zabbix installations.
// For upgraded installations, please read database upgrade notes before enabling this option.
$DB['DOUBLE_IEEE754'] = true;

$ZBX_SERVER = 'localhost';
$ZBX_SERVER_PORT = '10051';
$ZBX_SERVER_NAME = '';

$IMAGE_FORMAT_DEFAULT = IMAGE_FORMAT_PNG;

// Uncomment this block only if you are using Elasticsearch.
// Elasticsearch url (can be string if same url is used for all types).
//$HISTORY['url'] = [
// 'uint' => 'http://localhost:9200',
// 'text' => 'http://localhost:9200'
//];
// Value types stored in Elasticsearch.
//$HISTORY['types'] = ['uint', 'text'];

// Used for SAML authentication.
// Uncomment to override the default paths to SP private key, SP and IdP X.509 certificates, and to set extra settings.
//$SSO['SP_KEY'] = 'conf/certs/sp.key';
//$SSO['SP_CERT'] = 'conf/certs/sp.crt';
//$SSO['IDP_CERT'] = 'conf/certs/idp.crt';
//$SSO['SETTINGS'] = [];
잘봤습니다.
많은 도움이 되었습니다 감사합니다^^
도움되셨다니 다행입니다. 앞으로도 도움 되는 글 많이 올리도록 하겠습니다. 자주 들러 주세요 +_+